Deprecated: Automatic conversion of false to array is deprecated in /home/wcc1969/public_html/phasergames.com/wp-content/plugins/publitio-offloading/includes/class-publitio-offloading.php on line 577
Deprecated: Automatic conversion of false to array is deprecated in /home/wcc1969/public_html/phasergames.com/wp-content/plugins/publitio-offloading/includes/class-publitio-offloading.php on line 577
Deprecated: Automatic conversion of false to array is deprecated in /home/wcc1969/public_html/phasergames.com/wp-content/plugins/publitio-offloading/includes/class-publitio-offloading.php on line 577
Deprecated: Automatic conversion of false to array is deprecated in /home/wcc1969/public_html/phasergames.com/wp-content/plugins/publitio-offloading/includes/class-publitio-offloading.php on line 577
The hard way!
For a long time, I’ve been making sprite sheets by opening up my trusty old now discontinued Adobe fireworks (never could get the hang of photoshop). I would evenly space out individual images, resizing and repositioning until it was just right. There may be sometimes I will still do this, but more than likely I will use a brilliant piece of software called TexturePackerGUIThey have both free and paid versions.
Free or Pro?
While I have the pro version, I mostly bought it because the artists in my office have the pro version and I needed to open their files. For my own stuff, I probably could have gotten by with the free version, the artists I work with insist on having the paid features. I won’t go into all the details between the two. I suggest starting with the free version and check it out for yourself.
How to make a sprite sheet
TexturePackerGUI is a powerful program with many options, so there are a lot of ways to set up your sprite sheet. I’m going to take you through how I do it 99% of the time.
1. Select Images
First I select my images, and always make sure they are numbered or have a number on the end. This helps when you need to refer to the frame number later in the code.

2. Drag Images into the GUI
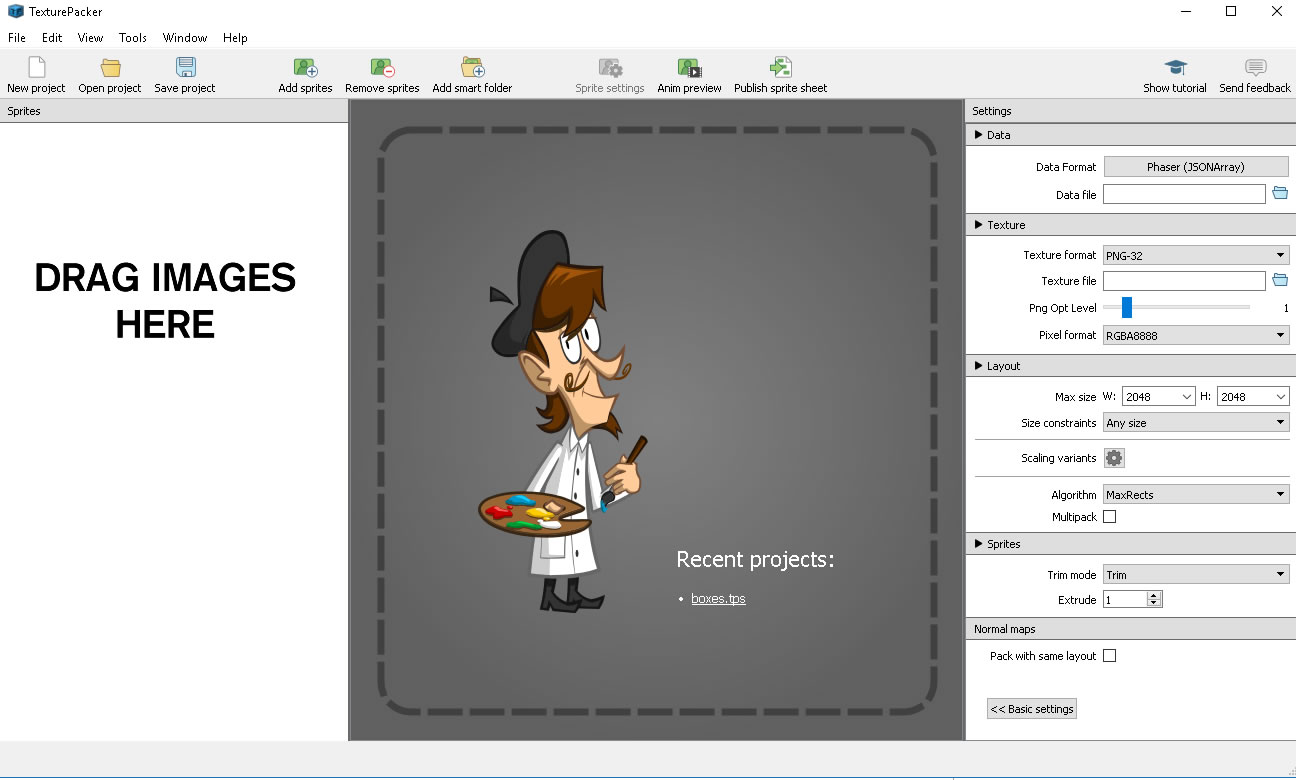
Next, open up TexturePackerGUI and drag your images into the empty pane on the right.
3. Resize if needed
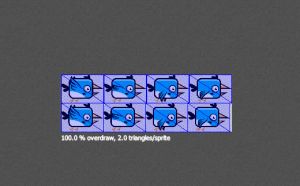
When I dragged the bird images into the software it showed me that 8 frames would not fit inside one single sheet.
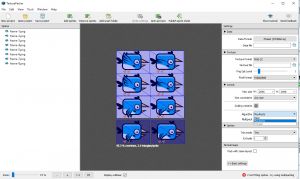
When I looked at the size I could see that the image was much too big for my game. I took up about 80% of my screen.
So I decided to resize all images to 25% of the original and they all fit fine onto one sheet.
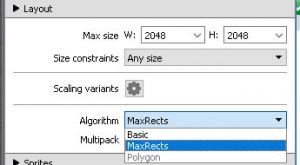
4. Select settings
There are several different layout settings but I almost always set the algorithm to basic and sort by to Name.
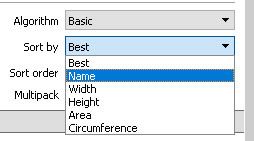
Why do I do this? Remember that I end filename with a number? Doing it this way will keep those in order.
If I am making a card game, for example, I want frame 0 to be an ace and frame 1 to be a 2. If I am making a tile-based game with letters, I want the frame 0 to be an A and frame 1 to be a B, and so forth.
Your game may differ so feel free to choose the optimization that works best for your game, but this is what works well for me.
Note: It may be that things are still kept in order in the file, but not in the image. Looking into this.
5. Export files
If your data settings don’t say Phaser, then click the file format button and a selection list will appear in the middle.
Select Phaser(JSONArray)

Click the publish sprite sheet button
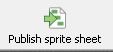
The progress box appears
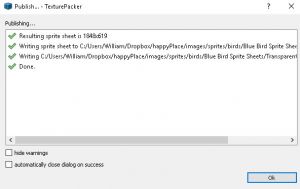
Two files are generated, an image file that is the sprite sheet and a JSON file that contains the frame data.
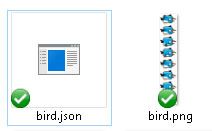
Place these files in your image folder of your project.
6. Loading the sprite sheet.
The format for loading a JSON supported sprite sheet is a follows
game.load.atlasJSONHash('key', 'path_to_sprite_sheet, 'path_to_data_file');
So for our bird, the code would be:
game.load.atlasJSONHash('bird', 'images/bird.png', 'images/bird.json');
And then we would define the animation as normal.
var StateMain = {

    preload: function () {
    	game.load.atlasJSONHash('bird', 'images/bird.png', 'images/bird.json');
    },

    create: function () {
        var bird=game.add.sprite(game.width/2,game.height/2,"bird");
        bird.anchor.set(0.5,0.5);
        bird.animations.add("fly",[0,1,2,3,4,5,6,7],12,true);
        bird.animations.play("fly");
    },

    update: function () {

    }

}
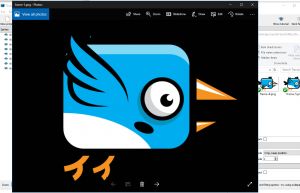
Here is the result.