Deprecated: Automatic conversion of false to array is deprecated in /home/wcc1969/public_html/phasergames.com/wp-content/plugins/publitio-offloading/includes/class-publitio-offloading.php on line 577
As game developers, we usually concern ourselves with issues about how our main character is going to jump, or how to make that special effect work. The title screen is often pushed to last. While it may not take as much technical skill as the main game it is the first thing our players will see.
I’m going to show you a technique that I use to make a title screen in about 15 minutes. It may take you a little longer than that at first, but you build one or two, it goes really fast.
My objectives:
- Works on mobile as well as desktop
- Simple but eye-catching
- Quick to Build
To complete this tutorial you’ll need
The resource files
The free version of the Ultimate Game Parts Template
For this example, we will use a game named Stormy Knights
Set up the template
Make a copy of the template and name the folder stormyKnights.
Open up the folder in your favorite code editor.
By default, the template is in dev mode. Dev mode skips the title screen and kills the background music
To take the template out of dev mode
in main.js change
model.devMode=true;
to
model.devMode=false;
This will also cause the default background music to play but you can turn it off by commenting out this line in the create function of stateLoad
//mediaManager.setBackgroundMusic("backgroundMusic");
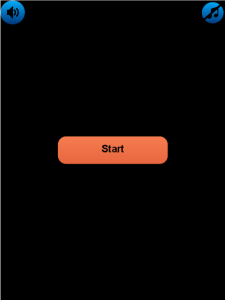
The template comes with a basic title screen, but we are going to start with a blank state
Remove all the code in stateTitle and replace it with this code:
var StateTitle = {
    create: function() {
        model.state = "title";
    }
}
The Layout
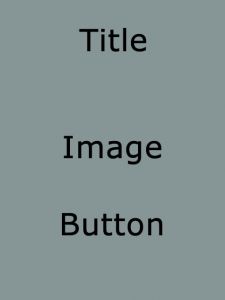
One of my simple go-to designs a title on top, an image in the center and a button to start the game. Also, I include a nice background and some sort of effect.
Loading the images
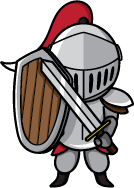
The castle tile I got from kenny.nl, the knight logo from freepik.com and the logo was created at
Copy the images into the folder images/main


In stateLoad preload the images in the preload functions
We can either use:
game.load.image("char", "images/main/char.png");
game.load.image("title", "images/main/title.png");
game.load.image("bgCastle", "images/main/bgCastle.png");
or use the template shortcut
this.loadMain("title");
this.loadMain("bgCastle");
this.loadMain("char");
Make the screen
Make the background by tiling bgCastle.png
this.background=game.add.tileSprite(0,0,game.width,game.height,"bgCastle");

We can also make a nice scroll effect by using Phaser’s auto-scroll feature
//this.background.autoScroll(x direction,y direction)
 this.background.autoScroll(0,-100);
The Logo Class
the logo class is a collection of code I was constantly writing over and over, it does 4 things
- adds an image to the stage
- anchors the image
- centers the image on the screen
- scales the image to a percentage of the canvas(optional)
add the title to the screen at 90% of the width
this.title=new Logo("title",.9);
Let’s move it up to the top 15% of the screen
//place this at 15% down from the top
this.title.y=game.height*.15;
Next, we will add in the Knight in the same way. Although the logo class puts the knight in the center I found that moving the knight up a bit looked better
this.char=new Logo("char",.3);
this.char.y=game.height*.4;
The last thing is to make a text button and have it dispatch a startGame event to the template.
You can find out more about text buttons here
this.btnStart=new TextButton("Start",4,1,G.START_GAME);

 //place it in the center of the screen horizontally
 this.btnStart.x=game.width/2;

 //place the button vertically 70% from the top
 this.btnStart.y=game.height*.75;
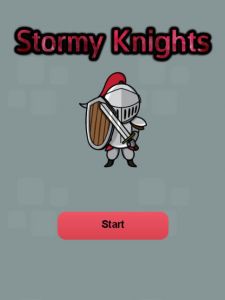
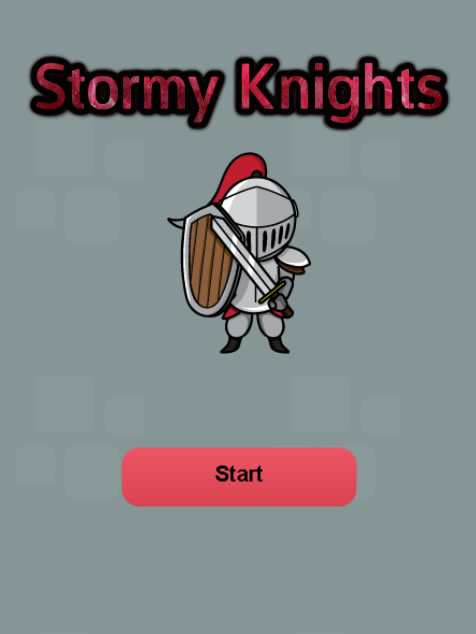
Here is the final result
Title Screen Result