Over my years on my path from a kid playing around with code(1982) to the present of being a senior developer, every year the number of paths of learning that I can take is growing exponentially. Sometimes these paths lead to dead ends and I spend my time learning something that is the
Don’t get me wrong, I learned valuable lessons from those languages but I’ve had to unlearn about half of what I put 1000s of hours to learn.
So every year or so when a new way of doing things pops its head up, I’m always a bit resistant, but when a technology looks like it will stay around I (eventually) embrace it.
So for all those people have requested that I show them how to set up Phaser with NPM (Node package manager), here it is.
Step 1. Install the node package manager
What is the node package manager(NPM)?
According to the official website:
npm makes it easy for JavaScript developers to share and reuse code, and makes it easy to update the code that you’re sharing, so you can build amazing things.
npmjs.com
For if it makes things easier or not, is debatable, however it is now being widely adopted as standard.
Step 2. Install Git
What is git?
Git is a free and open source distributed version control system
Basically git copies files from one place to another and keeps track of what was copied and when, so it is easy to roll back to a previous time.
We need git here to copy files from github.com
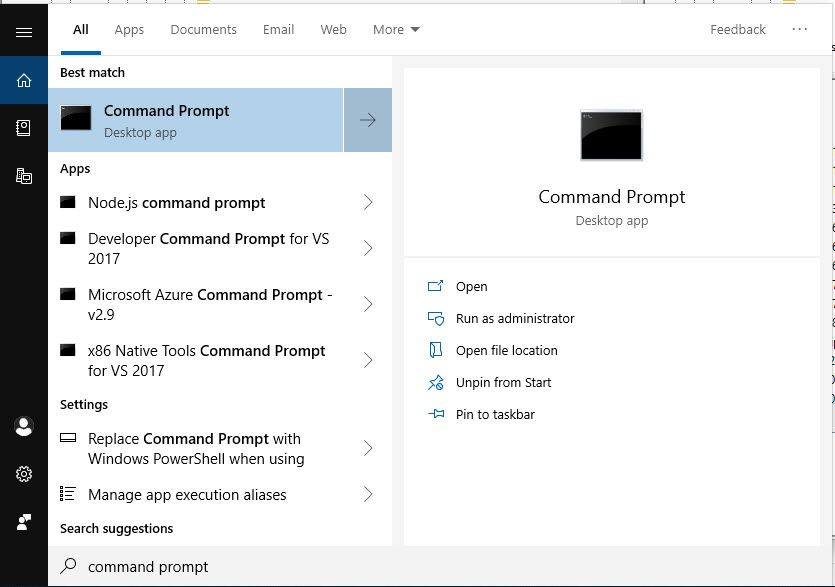
Step 3. Open A command prompt
Open a command prompt on Windows, or a terminal on Macs. You may need to search for it. Once you find it, make a shortcut where you can get to it quickly in future.
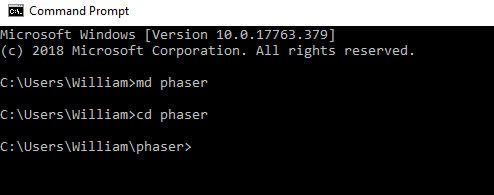
Step 4. Make a directory
At the command prompt, make and navigate to an empty directory. I like to make directories for each of my project types live. Phaser, React, Vue,
Use
cd phaser
Step 5. Clone The Project
Richard Davey has put together a nice time-saving package up on GitHub. Now we clone the files from the phaser 3 project template git hub. Copy and paste the text below into your command prompt, replacing
git clone https://github.com/photonstorm/phaser3-project-template.git game1
Then change the directory to your game directory
cd game1
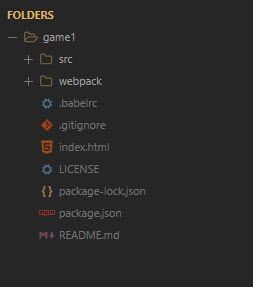
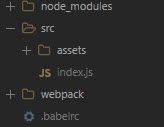
Step 6. Open your directory in your editor
Open the folder with the code editor of your choice. You’ll see something like this.
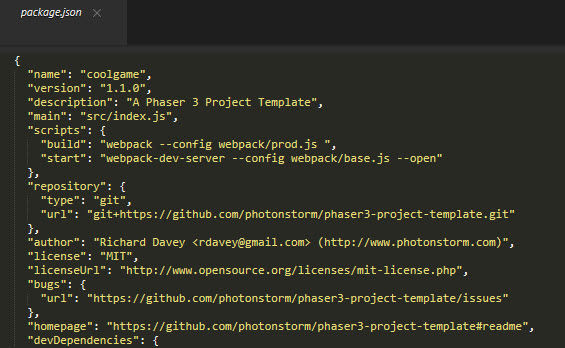
Step 7. Customize the package file
Open the package.json that was included with the template and replace
About WebPack
It was difficult for me to find anything on WebPack on the web that made me understand what it was.
webpack is a module bundler. Its main purpose is to bundle JavaScript files for usage in a browser, yet it is also capable of transforming, bundling, or packaging
https://webpack.js.org/
In plain language
Normally we would use
Step 8. Install the dependencies
There are bits of code that the template needs to run aka the node packages. The template has a list of what is needed. To install them type:
npm install
Step 9. Optional – Copy Template Files
If you are using a template from this site, such as the Ulitmate Game Parts Template for Phaser 3 then simply copy and overwrite the files in the top project directory with files from the template.
Step 10. Run the code
Now type out:
You should see this result
You can make changes to the code in the src folder starting with index.js
That should get you ready and set up to create phaser games with the node package manager. Enjoy!