When animations contain a lot of images and have a lot of animations it is easier to use JSON Animations.
This is an update from my old Phaser 2 post.
Software
The software I use to create animations is called Texture Packer. They have both paid and free versions. You’ll only need the free version to follow along with these examples.
Adding Images
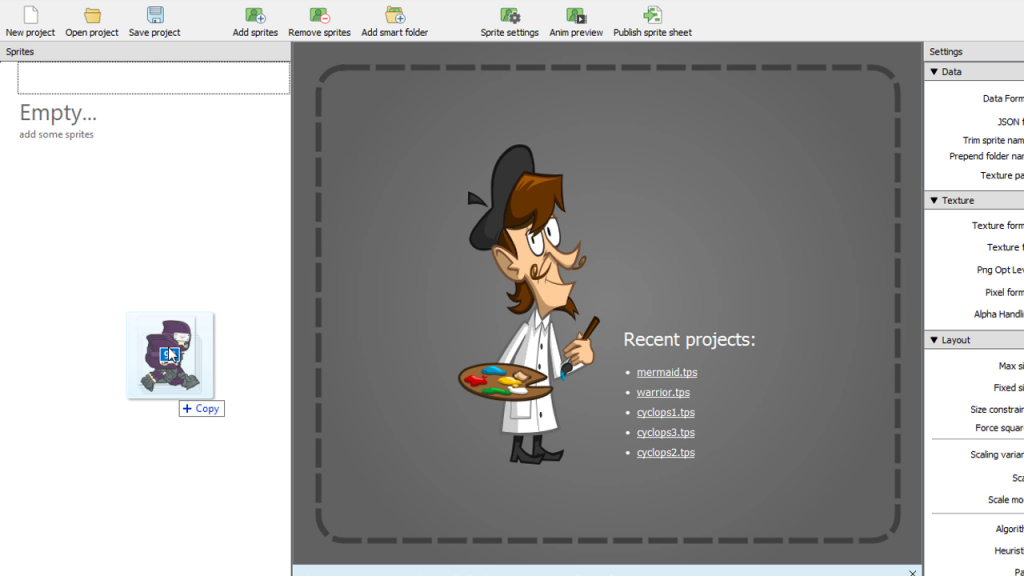
To add images for your animation, all you need to do is drag the images in the space marked “EMPTY”.
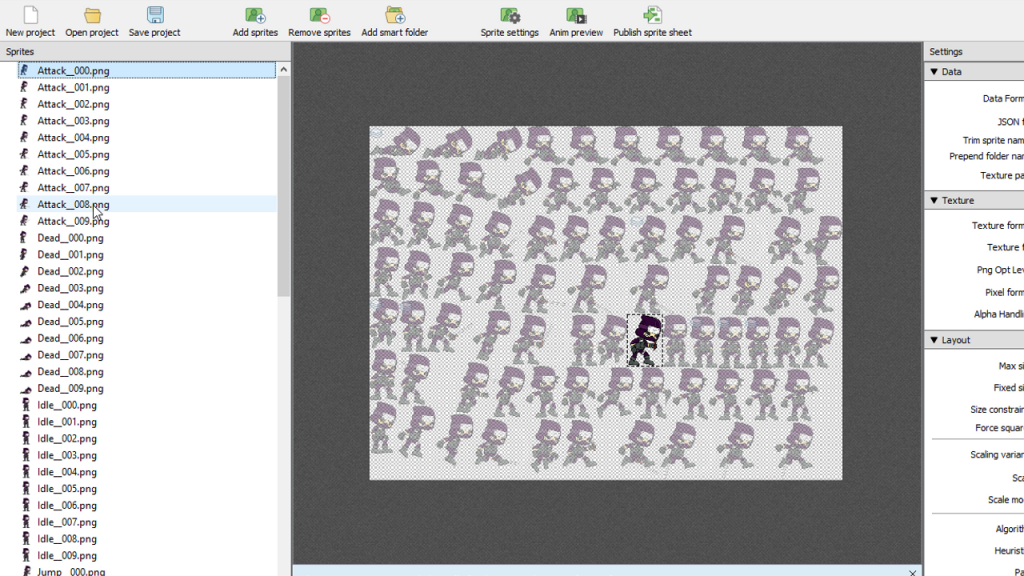
Once you drag in your images, you can see what the sprite sheet will look like.
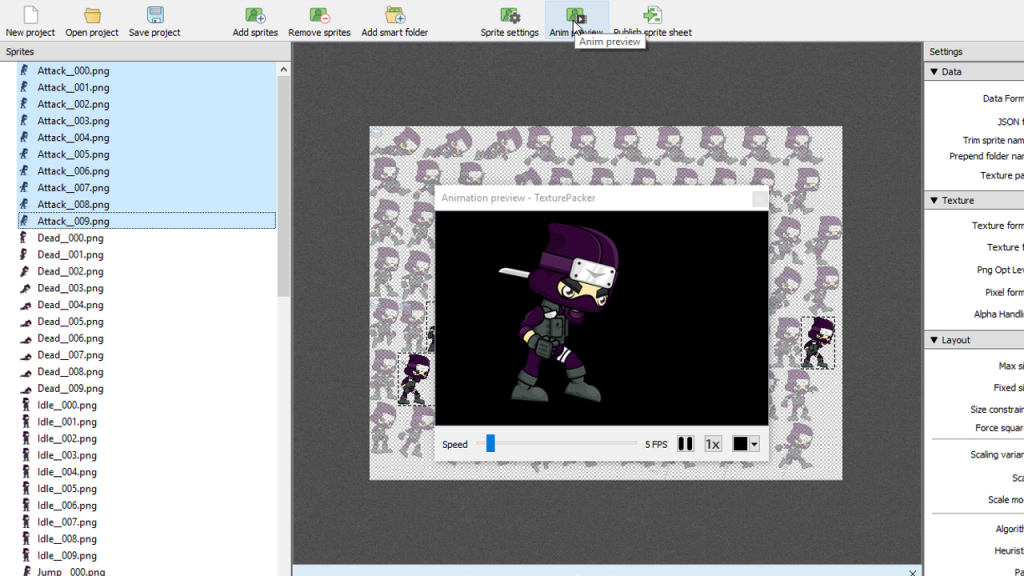
Use shift-click you can select multiple images and then preview that animation.
Settings
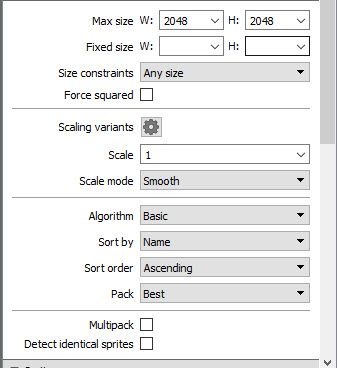
These are the settings I typically use for my JSON Animations. They are set up so I can see the Sprite sheet with all the sprites in order. However, it may not be the most efficient way for your game. Whatever settings you choose should not affect the code that we are going to use to bring in the animations below.
You might want to consider using one sprite sheet for development just to get your code organized and then going ahead and creating a more efficient sprite sheet later. As long as the frame names (see below) remain the same you shouldn’t have any problems.
Exporting The Image And JSON

Press the publish button at the top of the program to be able to export your sprite sheet. This will produce two files ninja.png(the sprite sheet) and ninja.json (the information).
The JSON file contains information where each sprite sheet individual image starts and ends.
Loading The JSON Animation Spritesheet
Normally to load a sprite sheet we use something like the code below. This works well when all the images are the same size or can be spaced evenly.
this.load.spritesheet('ninja', 'images/ninja.png', { frameWidth: 128, frameHeight: 128 });Using JSON Animations takes away the need for that. Images can be of different shapes and sizes.
To load a sprite sheet with JSON we can use the atlas statement and pass in a key, the path to the sprite sheet and the path to the JSON file
this.load.atlas("ninja", "images/ninja.png", "images/ninja.json");Setting Up the Animations
text
Finding the Frame Names
You may be used to targeting a frame in a sprite sheet with a number.
this.char.setFrame(1);With a sprite sheet loaded with JSON, however, the frame is decided by the image name.
this.char.setFrame("Run__006.png");These names are not very elegant and I often go into the JSON file to clean up or change the names.
To target the frames for animation, we have to know what they are. There is a getFrames() function that you can run on the textures object to get these names.
 var frameNames = this.textures.get('ninja').getFrameNames();
 console.log(frameNames);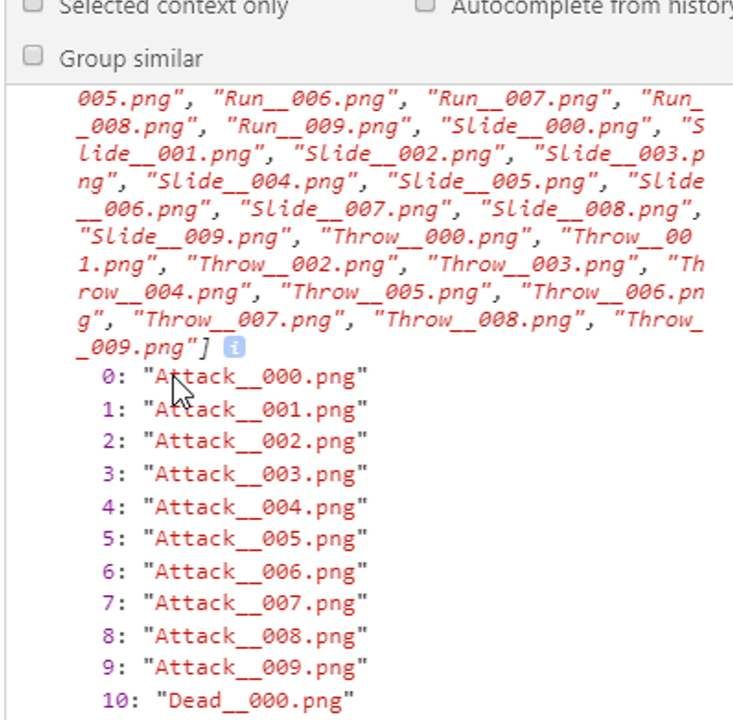
Defining the Animation
Now that we know the names we can make the animations. Here is an example of how you can create an animation.
this.anims.create({
        key: 'walk',
        frames: [
            { key: 'char',frame:1 },
            { key: 'char',frame:2 },
        ],
        frameRate: 8,
        repeat: -1
});- key-the name of the animation such as walk, run, jump or idle.
- frames-an array of objects that consists of a key and a frame property.
- frames key – the key of the image loaded with atlas
- frames frame – the frame name that we pulled from getFrames()
- frame rate – the speed of the animation. Higher is faster.
- repeat – The number of times the animation should play. -1 means it will play continuously
Below is an example that sets up an attack animation
this.anims.create({
key: ‘attack’,
frames: [
{ key: ‘ninja’,frame:”Attack__000.png”},
{ key: ‘ninja’,frame:”Attack__001.png”},
{ key: ‘ninja’,frame:”Attack__002.png”},
{ key: ‘ninja’,frame:”Attack__003.png”},
{ key: ‘ninja’,frame:”Attack__004.png”},
{ key: ‘ninja’,frame:”Attack__005.png”},
{ key: ‘ninja’,frame:”Attack__006.png”},
{ key: ‘ninja’,frame:”Attack__007.png”},
{ key: ‘ninja’,frame:”Attack__008.png”},
{ key: ‘ninja’,frame:”Attack__009.png”},
],
frameRate: 8,
repeat: -1
});
Using A Shortcut
While the above works very well, it does tend to take up a lot of room in the code. There is a built in way in Phaser to generate the animations.
this.anims.generateFrameNames('key', {
                start: 0,
                end: 5,
                zeroPad: 3,
                prefix: 'string prefix',
                suffix: '.png'
            })
In this example the parameters would be:
- key – ninja
- start – 0
- end – 5
- zeroPad -3 This is a little confusing, it is simply the number of digits
- prefix – Attack__
- suffix – png
This is how we can use this code to generate the attack animation
this.anims.create({
            key: 'attack',
            frames: this.anims.generateFrameNames('ninja', {
                start: 0,
                end: 9,
                zeroPad: 3,
                prefix: 'Attack__',
                suffix: '.png'
            }),
            frameRate: 8,
            repeat: -1
        });
Playing the animation
After the animation is set up, all we need to do is make a sprite and play the animation
this.ninja=this.add.sprite(100,300,'ninja');
this.ninja.play('attack');
I’ll be using this animation to start a series on a platform game, so check back for that!
