How to extend a sprite in Phaser 3
Sometimes just adding a sprite into a game is enough. Other times it is very useful to extend a sprite.
Why? Being able to do this will let us get super organized. That allows us to build games faster and better. We can make complex classes that extend Phaser game objects such as sprite, text or images. Most importantly we can reuse the code!
In my experience using classes allows us to do more by writing less code. If well written, the class can be transferred from one game to another without changing the code in the class.
Extending existing classes can be very powerful. I’m going to show you the basics in this post of how to extend a sprite in Phaser 3.
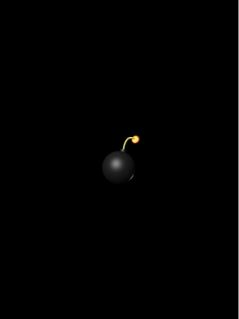
For this example, I am using a basic template. I have a sprite which is a bomb in the middle of the screen. There are just 2 lines of code added. One to preload the image, and one to place it on the screen
 preload()
    {
    	this.load.image("bomb", "images/bomb.png");
    }
create()
 {
   let bomb = this.add.sprite(game.config.width/2,game.config.height/2, "bomb");
 }
And here is the result:
Make the class and extend a sprite
Now let’s make a bomb class by making a new file called bomb.js
The class name bomb and we extend it with the sprite class by using Phaser.GameObjects.Sprite
class Bomb extends Phaser.GameObjects.Sprite {
}
Then we need a constructor to fire when the bomb is created. Inside that constructor then we have to call the super. A super is the constructor inside the class we are extending, in this case, the sprite.
class Bomb extends Phaser.GameObjects.Sprite {
    constructor(config) {
        super();
    }
}
The super requires a scene as it’s the first parameter. We also need to give it an x and a y position and an image key that we’ve already preloaded. To get those values we are going to pass those into our bomb class through the constructor. We can do this using a single object called ‘config’.
For the key, since we’re only using this for a bomb we can just hard code that in. If you want you can pass in the key with the config object.
class Bomb extends Phaser.GameObjects.Sprite {
    constructor(config) {
        super(config.scene, config.x, config.y, "bomb");
    }
}
and we need to link this bomb class into the index.html file
<script type="text/javascript" src="js/bomb.js"></script>Adding to the scene
The last thing to do is to add the sprite to the scene as an existing object. Otherwise, it will not show up
config.scene.add.existing(this);Now back in our scene main, we can comment out the code in create and instead say
//let bomb = this.add.sprite(game.config.width/2,game.config.height/2, "bomb");

let bomb=new Bomb({scene:this,x:game.config.width/2,y:game.config.height/2});
Adding new functions
So that does exactly the same thing as just adding the sprite. The difference is that now we can organize our code better. We can just add things that just deal with the bomb inside of here. For example, we can say make the bomb sprite interactive by adding some code to the constructor. Let’s also add a click listener and function to decrease the alpha of the bomb every time it is clicked.
class Bomb extends Phaser.GameObjects.Sprite {
    constructor(config) {
        super(config.scene, config.x, config.y, "bomb");
        config.scene.add.existing(this);

        this.setInteractive();
        this.on('pointerdown',this.clickMe,this);
    }

    clickMe()
    {
    	this.alpha-=.1;
    }
}
Now we can click until the bomb is gone.
While this is just a simple example, just image making a more complex class. For example one of a spaceship. You can add all the functions of turning, moving and firing. You then just need to add that to any game that class is needed. You save yourself tons of work this way!
Making a lot of instances
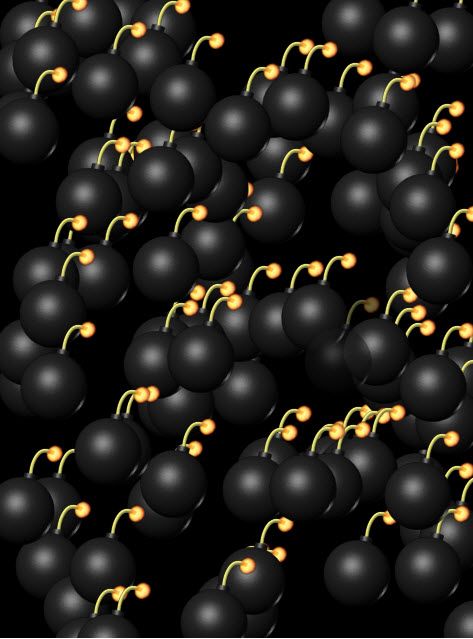
Let’s make more bombs here by using a for-loop. In fact, let’s make 100 of them, and we will pick some random positions for each bomb.
for (var i = 0; i < 100; i++) {
   let xx=Phaser.Math.Between(0,game.config.width);
   let yy=Phaser.Math.Between(0,game.config.height);
   let bomb=new Bomb({scene:this,x:xx,y:yy});
   }
Here is the result. Only the bomb we click on actually takes any action. This is because each one is a separate instance of that bomb class!
This is very helpful sometimes when you’re building a more complex project and you can keep everything inside that. It also makes it
easier to reuse things. Any functions I put in the class can possibly be used for a different game. All I need to do is just change the key.
That is How you extend a sprite in Phaser 3!
Extending a sprite checklist
- Make a new file
- Make a class
- Extend Phaser.GameObjects.Sprite
- In the constructor called the super with the scene, an x and a y position, and a key
- Add the class to the scene with config.scene.add.existing(this)
Thanks for sharing!
I’ve used your approach to extend sprites, but I’ve found that I can’t use the setVelocity method. Instead I get the following error.
TypeError: player.setVelocity is not a function
I don’t have this problem when I create other sprites in the same scene. Any thoughts on how to fix? Thanks!
Hi Alan,
The most common reason would be that you added the sprite to the scene and not to the physics
this.player = this.add.sprite(0, 0, key);instead of
this.player= this.physics.add.sprite(0, 0, key);You also might try player.body.setVelocity
If that doesn’t fix the problem let me know.
Yup, that did it thanks!
In my constructor I had to use both `config.scene.add.existing(this)` (to make the object appear on the screen) and `config.scene.physics.add.existing(this)`. Then I’m able to use `myinstance.body.setVelocity`.
Thanks again!
“`
class Character extends Phaser.GameObjects.Sprite {
constructor(config) {
super(
config.scene,
config.x,
config.y,
config.key,
config.frame
);
config.scene.add.existing(this);
config.scene.physics.add.existing(this);
}
};
function create() {
// this works
s1 = this.physics.add.sprite(32, 32, ‘player’, 130);
s1.body.setVelocity(10, 10);
// and now this works too!
s2 = new Character({scene:this, x:2, y:2, key:’player’, frame:130});
s2.body.setVelocity(-10, 10);
};
“`